


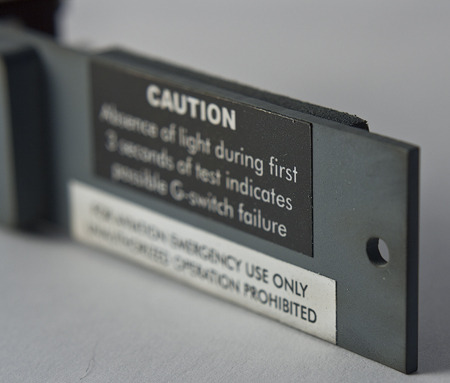
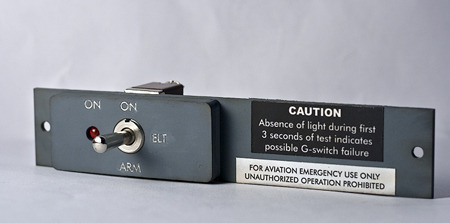
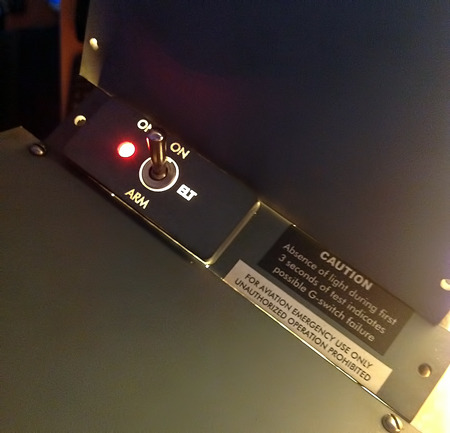
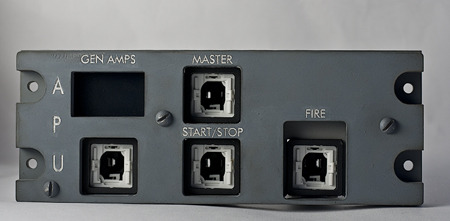
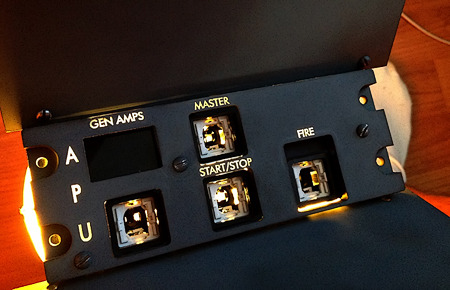
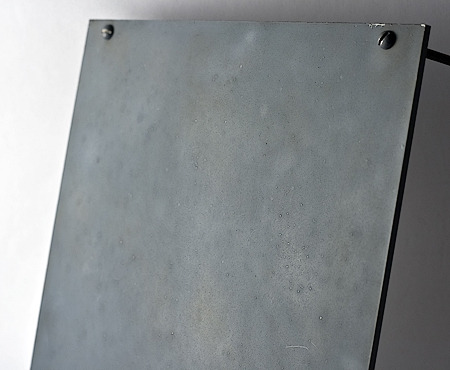
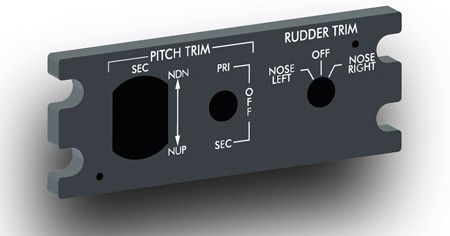
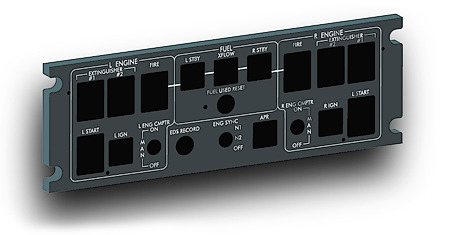
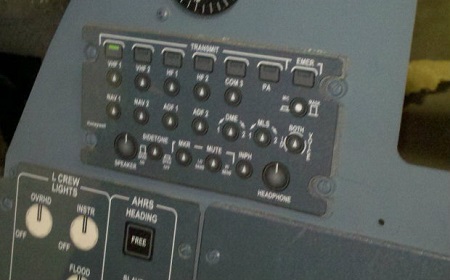
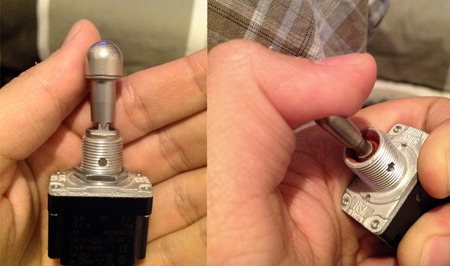
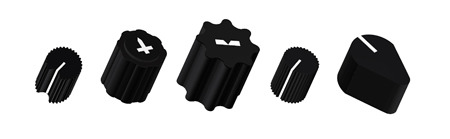
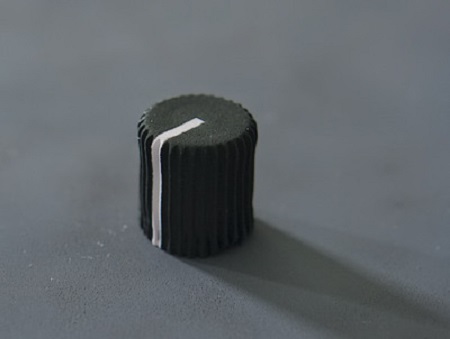
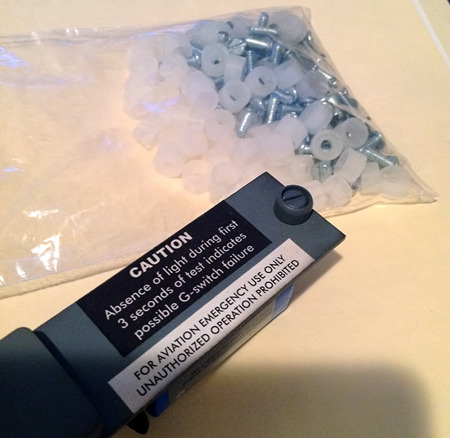
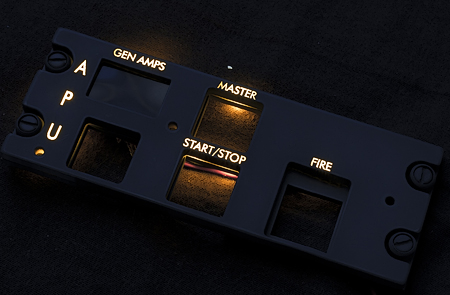
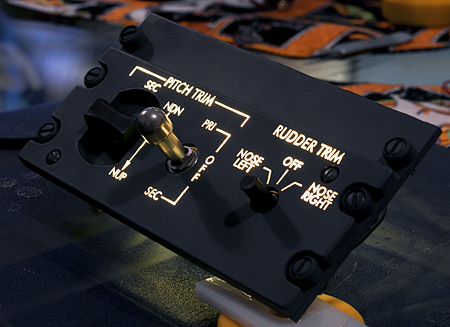
(Original thread started on 05-23-12 by David Gutierrez) I designed the panels and went to the laser shop. They are back lightable and I am happy with them! This is the ELT panel. The cost was 5 USD at the laser shop. The LED lights when the switch is in the ON position: Before continuing with development I wanted to see how the light would behave with the panels, and I couldn't be more pleased. There are some light leaks in the photo, but it was just some small test. The photo is bigger at my site: http://www.wix.com/tote320/lear45#!mainPage As you know I don't have integrated light in my panels, because that would involve some CNC work and more development meaning more money, and that's not my goal. I want to keep things simple but cool for the eyes and touch. So my back lighting is very simple, and the light came great through the whole panel. UPDATE: This is the APU panel. The cost was 8USD at the laser shop, and it has some AML's on. Also the bolts are wrong I just put them just for fun, I had them in home. But I need to get the bolts I'm going to use: APU Panel Prototype light test. Some light test with the APU prototype panel. Don't worry about the light leakage, it has been taken care of with the new design, this was the prototype and I learned a lot about how the AML switches fit: I put some weathering on them because I want an "old look". Here you can see some weathering in detail. This is just a painted Plexi plate with no switches: I know this are not beauty of perfect like some others here, but I think they are great for the my budget. UPDATE: I've been working on some panels for my sim, the design of the Trim and the Engine panel is done. My plan is to continue designing all the panels at the pedestal before moving up. Here is a screenshot of the upper trim panel: And here is the Engine Panel: There is some more information at my website: http://tote320.wix.com/lear45 (Posted by Randy Buchanan on 06-07-12) My panel doesn't look as good as David's! That because it is made of paper and costs about $20.00. Just an idea to fill the holes in your MIP while we save our money for real sim panels. This is a photo of one of my paper panels: (Posted by Will Sasse on 06-10-12) looking good David! How did you do your panel lettering? CNC router or laser? I concur that the building part is fun, but the interfacing? So far in my experience that is where out-of-context guessing seems to work best! (Original thread started on 05-23-12 by David Gutierrez) I designed the panels and went to the laser shop. They are back lightable and I am happy with them! This is the ELT panel. The cost was 5 USD at the laser shop. The LED lights when the switch is in the ON position: Before continuing with development I wanted to see how the light would behave with the panels, and I couldn't be more pleased. There are some light leaks in the photo, but it was just some small test. The photo is bigger at my site: http://www.wix.com/tote320/lear45#!mainPage As you know I don't have integrated light in my panels, because that would involve some CNC work and more development meaning more money, and that's not my goal. I want to keep things simple but cool for the eyes and touch. So my back lighting is very simple, and the light came great through the whole panel. UPDATE: This is the APU panel. The cost was 8USD at the laser shop, and it has some AML's on. Also the bolts are wrong I just put them just for fun, I had them in home. But I need to get the bolts I'm going to use: APU Panel Prototype light test. Some light test with the APU prototype panel. Don't worry about the light leakage, it has been taken care of with the new design, this was the prototype and I learned a lot about how the AML switches fit: I put some weathering on them because I want an "old look". Here you can see some weathering in detail. This is just a painted Plexi plate with no switches: I know this are not beauty of perfect like some others here, but I think they are great for the my budget. UPDATE: I've been working on some panels for my sim, the design of the Trim and the Engine panel is done. My plan is to continue designing all the panels at the pedestal before moving up. Here is a screenshot of the upper trim panel: And here is the Engine Panel: There is some more information at my website: http://tote320.wix.com/lear45 (Posted by Randy Buchanan on 06-07-12) My panel doesn't look as good as David's! That because it is made of paper and costs about $20.00. Just an idea to fill the holes in your MIP while we save our money for real sim panels. This is a photo of one of my paper panels: (Posted by Will Sasse on 06-10-12) looking good David! How did you do your panel lettering? CNC router or laser? I concur that the building part is fun, but the interfacing? So far in my experience that is where out-of-context guessing seems to work best! (Posted by David Gutierrez on 06-10-12) The lettering is done with a laser. As for the interface card, I think just to make my life easier, I'm getting a SYS board from FDS. I've been designing the panels on the pedestal and at this point I have these panels ready to be cut: APU ELT ENGINE WX TRIM VHF (just a replica) I was waiting to cut out these panels until I have the Honeywell toggle switches, which I've got recently. But i wanted to verify some measures so i waited for them: I'm also waiting for some LEDs from Hong Kong as I'm going to make the panels with integrated back lighting. But in the meantime, I was able to complete the design of the WX panel and it will work with Omrons switches. The backer plate that will hold the Omrons is already designed as well. Here is a pic of the upper, the backer, and the Omrons backer panel, all in one for showcase: Some of the knobs are ready for the laser, at this point I've only produced the WX round knob, it was a test and I'm happy with it, so I will continue with the others: I'm waiting for the LEDs and then the fun with the laser will start with these panels. Ron, thanks for the DZUS fasteners, they are great! (Posted by Shane Barnes on 07-01-12) Hey David, your project is moving along! The knob looks really good too! I really enjoy seeing the progress made by Hangar 45 members on their projects. It keeps me motivated to work on mine! (Posted by David Gutierrez on 11-12-12) Some updates on my project. I am done with the prototypes and I'm happy with the results. Now the back lighting is integrated, working with 12V power. Here is the APU ready to get AML's switches: Here's the Trim Panel. I still have to make some mod's to have the final slider version. And also I'm working on the Rudder trim knob. I bought the right screws for this panel from eBay but they aren't here yet: There is some more information at my website: http://tote320.wix.com/lear45 (Posted by David Gutierrez on 06-10-12) The lettering is done with a laser. As for the interface card, I think just to make my life easier, I'm getting a SYS board from FDS. I've been designing the panels on the pedestal and at this point I have these panels ready to be cut: APU ELT ENGINE WX TRIM VHF (just a replica) I was waiting to cut out these panels until I have the Honeywell toggle switches, which I've got recently. But i wanted to verify some measures so i waited for them: I'm also waiting for some LEDs from Hong Kong as I'm going to make the panels with integrated back lighting. But in the meantime, I was able to complete the design of the WX panel and it will work with Omrons switches. The backer plate that will hold the Omrons is already designed as well. Here is a pic of the upper, the backer, and the Omrons backer panel, all in one for showcase: Some of the knobs are ready for the laser, at this point I've only produced the WX round knob, it was a test and I'm happy with it, so I will continue with the others: I'm waiting for the LEDs and then the fun with the laser will start with these panels. Ron, thanks for the DZUS fasteners, they are great! (Posted by Shane Barnes on 07-01-12) Hey David, your project is moving along! The knob looks really good too! I really enjoy seeing the progress made by Hangar 45 members on their projects. It keeps me motivated to work on mine! (Posted by David Gutierrez on 11-12-12) Some updates on my project. I am done with the prototypes and I'm happy with the results. Now the back lighting is integrated, working with 12V power. Here is the APU ready to get AML's switches: Here's the Trim Panel. I still have to make some mod's to have the final slider version. And also I'm working on the Rudder trim knob. I bought the right screws for this panel from eBay but they aren't here yet: There is some more information at my website:David Gutierrez's Lear45 Project
![]()
![]()

2017-10-10